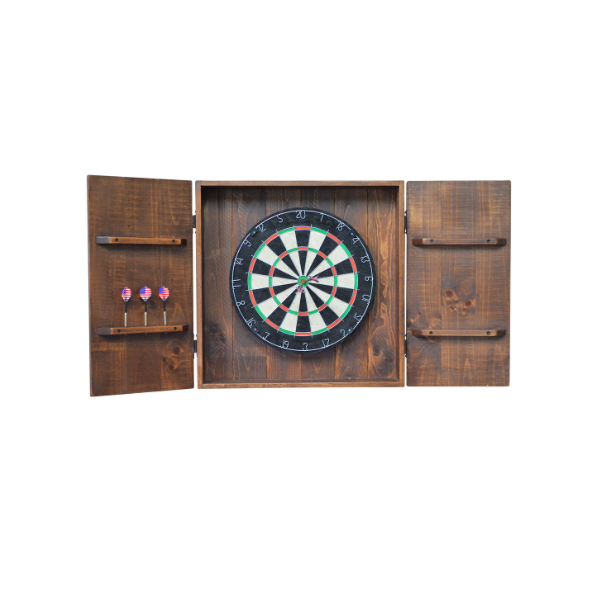
Building a custom dartboard cabinet with solid pine wood is a rewarding DIY project that adds both functionality and rustic charm to your game room or entertainment space. In this comprehensive guide, we’ll take you through the step-by-step process of constructing a beautiful and durable dartboard cabinet that you can proudly display and enjoy for years to come.
Materials Needed:
- Solid pine wood boards (various dimensions depending on design)
- Plywood sheets
- Wood glue
- Wood screws
- Hinges
- Magnetic door catches
- Dartboard
- Darts
- Sandpaper
- Stain or paint
- Polyurethane sealant
- Tools: saw, drill, screwdriver, measuring tape, pencil, clamps
Design Your Cabinet
Begin by sketching out the design of your dartboard cabinet, taking into account the size of your dartboard and any additional features you’d like to include, such as scoreboards or storage compartments. Determine the dimensions of the cabinet and create a cut list for the wood components.
Cut the Wood
Using a saw, cut the solid pine wood boards and plywood sheets according to your design and cut list. Be sure to make precise and accurate cuts to ensure a professional-looking finished product.
Assemble the Cabinet Frame
Assemble the frame of the cabinet using wood glue and wood screws. Use clamps to hold the pieces together securely while the glue dries. Check for squareness and make any necessary adjustments before proceeding.
Add the Back Panel
Attach the plywood sheet to the back of the cabinet frame using wood glue and screws. This will provide stability and support to the cabinet structure.
Build the Doors
Construct the doors for the cabinet using solid pine wood boards. Cut the boards to size and assemble them using wood glue and screws. Attach hinges to the doors and the cabinet frame to allow the doors to open and close smoothly.
Install the Dartboard
Mount the dartboard inside the cabinet using screws or brackets, ensuring it is centered and securely attached. Use a level to ensure the dartboard is straight and level for accurate gameplay.
Finish the Cabinet
Sand the entire surface of the cabinet to smooth out any rough edges or imperfections. Apply your choice of stain or paint to the wood, following the manufacturer’s instructions. Once the stain or paint has dried, apply a coat of polyurethane sealant to protect the wood and enhance its durability.
Add Final Touches
Install magnetic door catches to keep the doors closed when not in use. Mount a scoreboard or chalkboard to the inside of one of the doors for keeping score during games. Hang the cabinet on the wall using screws and wall anchors for added stability.
Enjoy Your Custom Dartboard Cabinet
Once the cabinet is complete and installed, hang your dartboard and arrange your darts inside. Invite friends and family to enjoy hours of fun and friendly competition in your game room with your newly built custom dartboard cabinet.
Optional Tips:
- Personalize your dartboard cabinet with custom engraving, stenciling, or decorative hardware to match your style and preferences.
- Consider adding LED lighting inside the cabinet to illuminate the dartboard and enhance visibility during gameplay.
- Experiment with different wood finishes and stains to achieve the desired look for your cabinet, whether rustic, modern, or classic.
Conclusion:
Building a custom dartboard cabinet with solid pine wood is a satisfying and enjoyable DIY project that allows you to create a unique and functional piece of furniture for your game room. By following these step-by-step instructions and using basic woodworking skills and tools, you can construct a beautiful and durable cabinet that will be the focal point of your gaming space for years to come. Cheers to craftsmanship and endless hours of dart-throwing fun!


Leave a Reply